How To Remove Swirl Marks From Car Paint: Quick Fix
Use proper wash, polish, and pad technique to eliminate swirl marks effectively.
I’ve spent years detailing cars for friends, family, and local clients, and I know exactly how stubborn swirl marks can be. This guide on how to remove swirl marks from car paint pulls from hands-on experience and industry best practices. I’ll walk you through causes, the tools you need, step-by-step methods, and how to prevent them next time. Read on and you’ll learn clear, doable steps to restore shine without damaging your paint.
src="https://montanaautopros.com/_astro/how-to-remove-swirls-from-car-paint.67140e8b.jpg"
alt="What are swirl marks and why they matter"
style="max-width: 100%; height: auto; border: 2px solid black; border-radius: 10px; display: block; margin: 0 auto;”
loading=”lazy”
/>
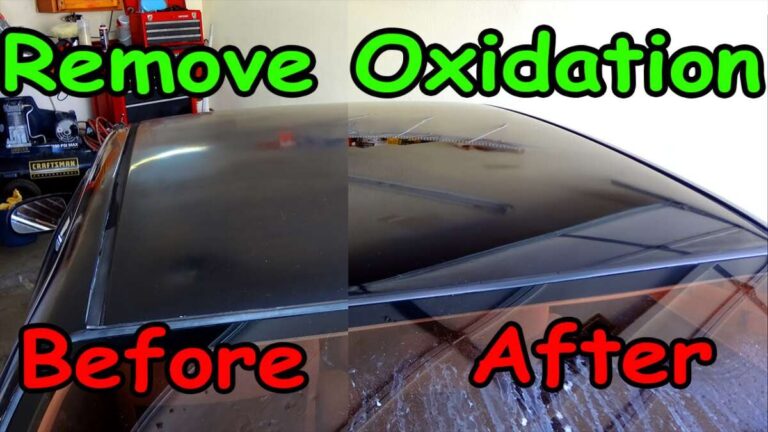
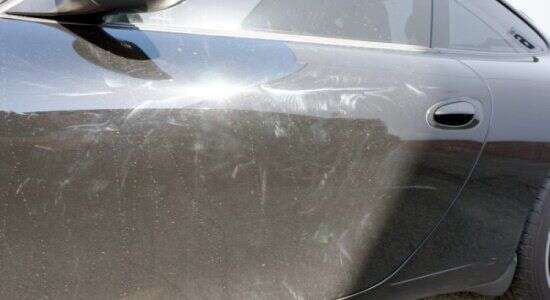
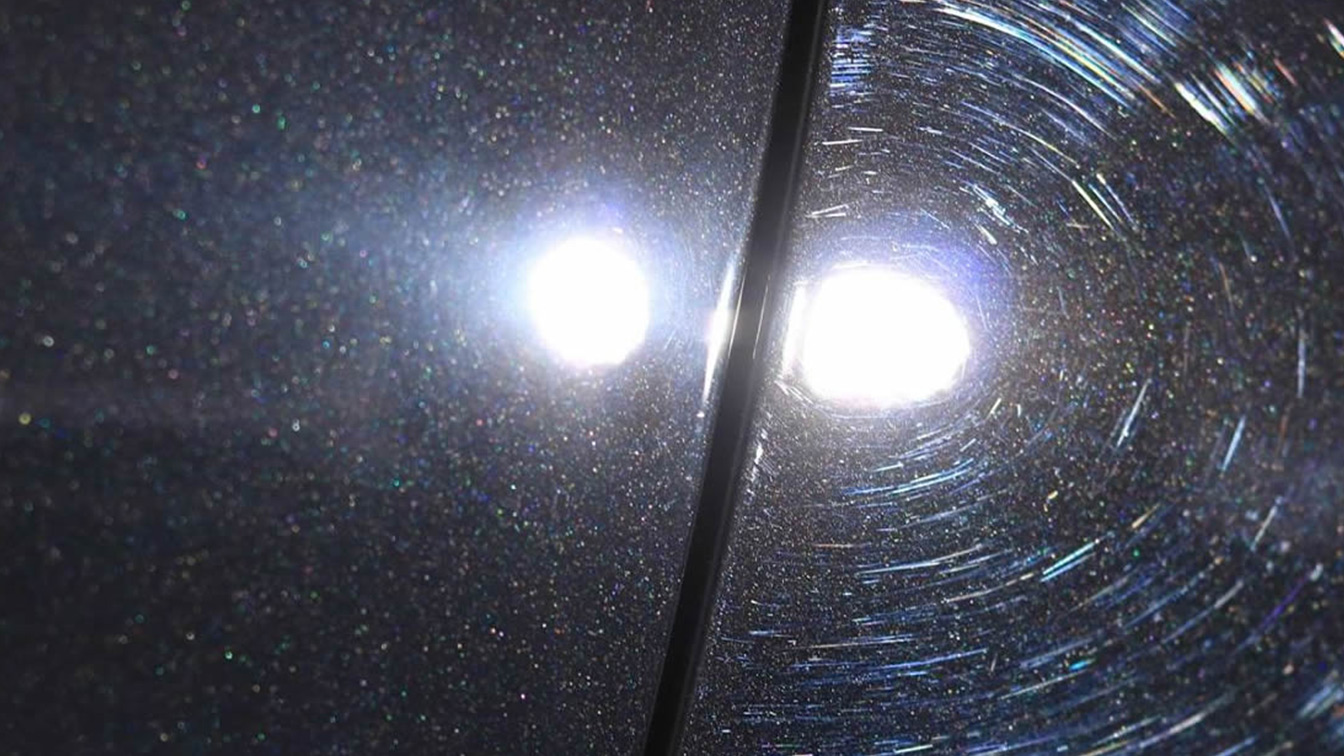
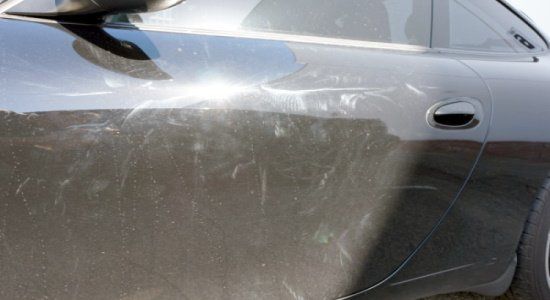
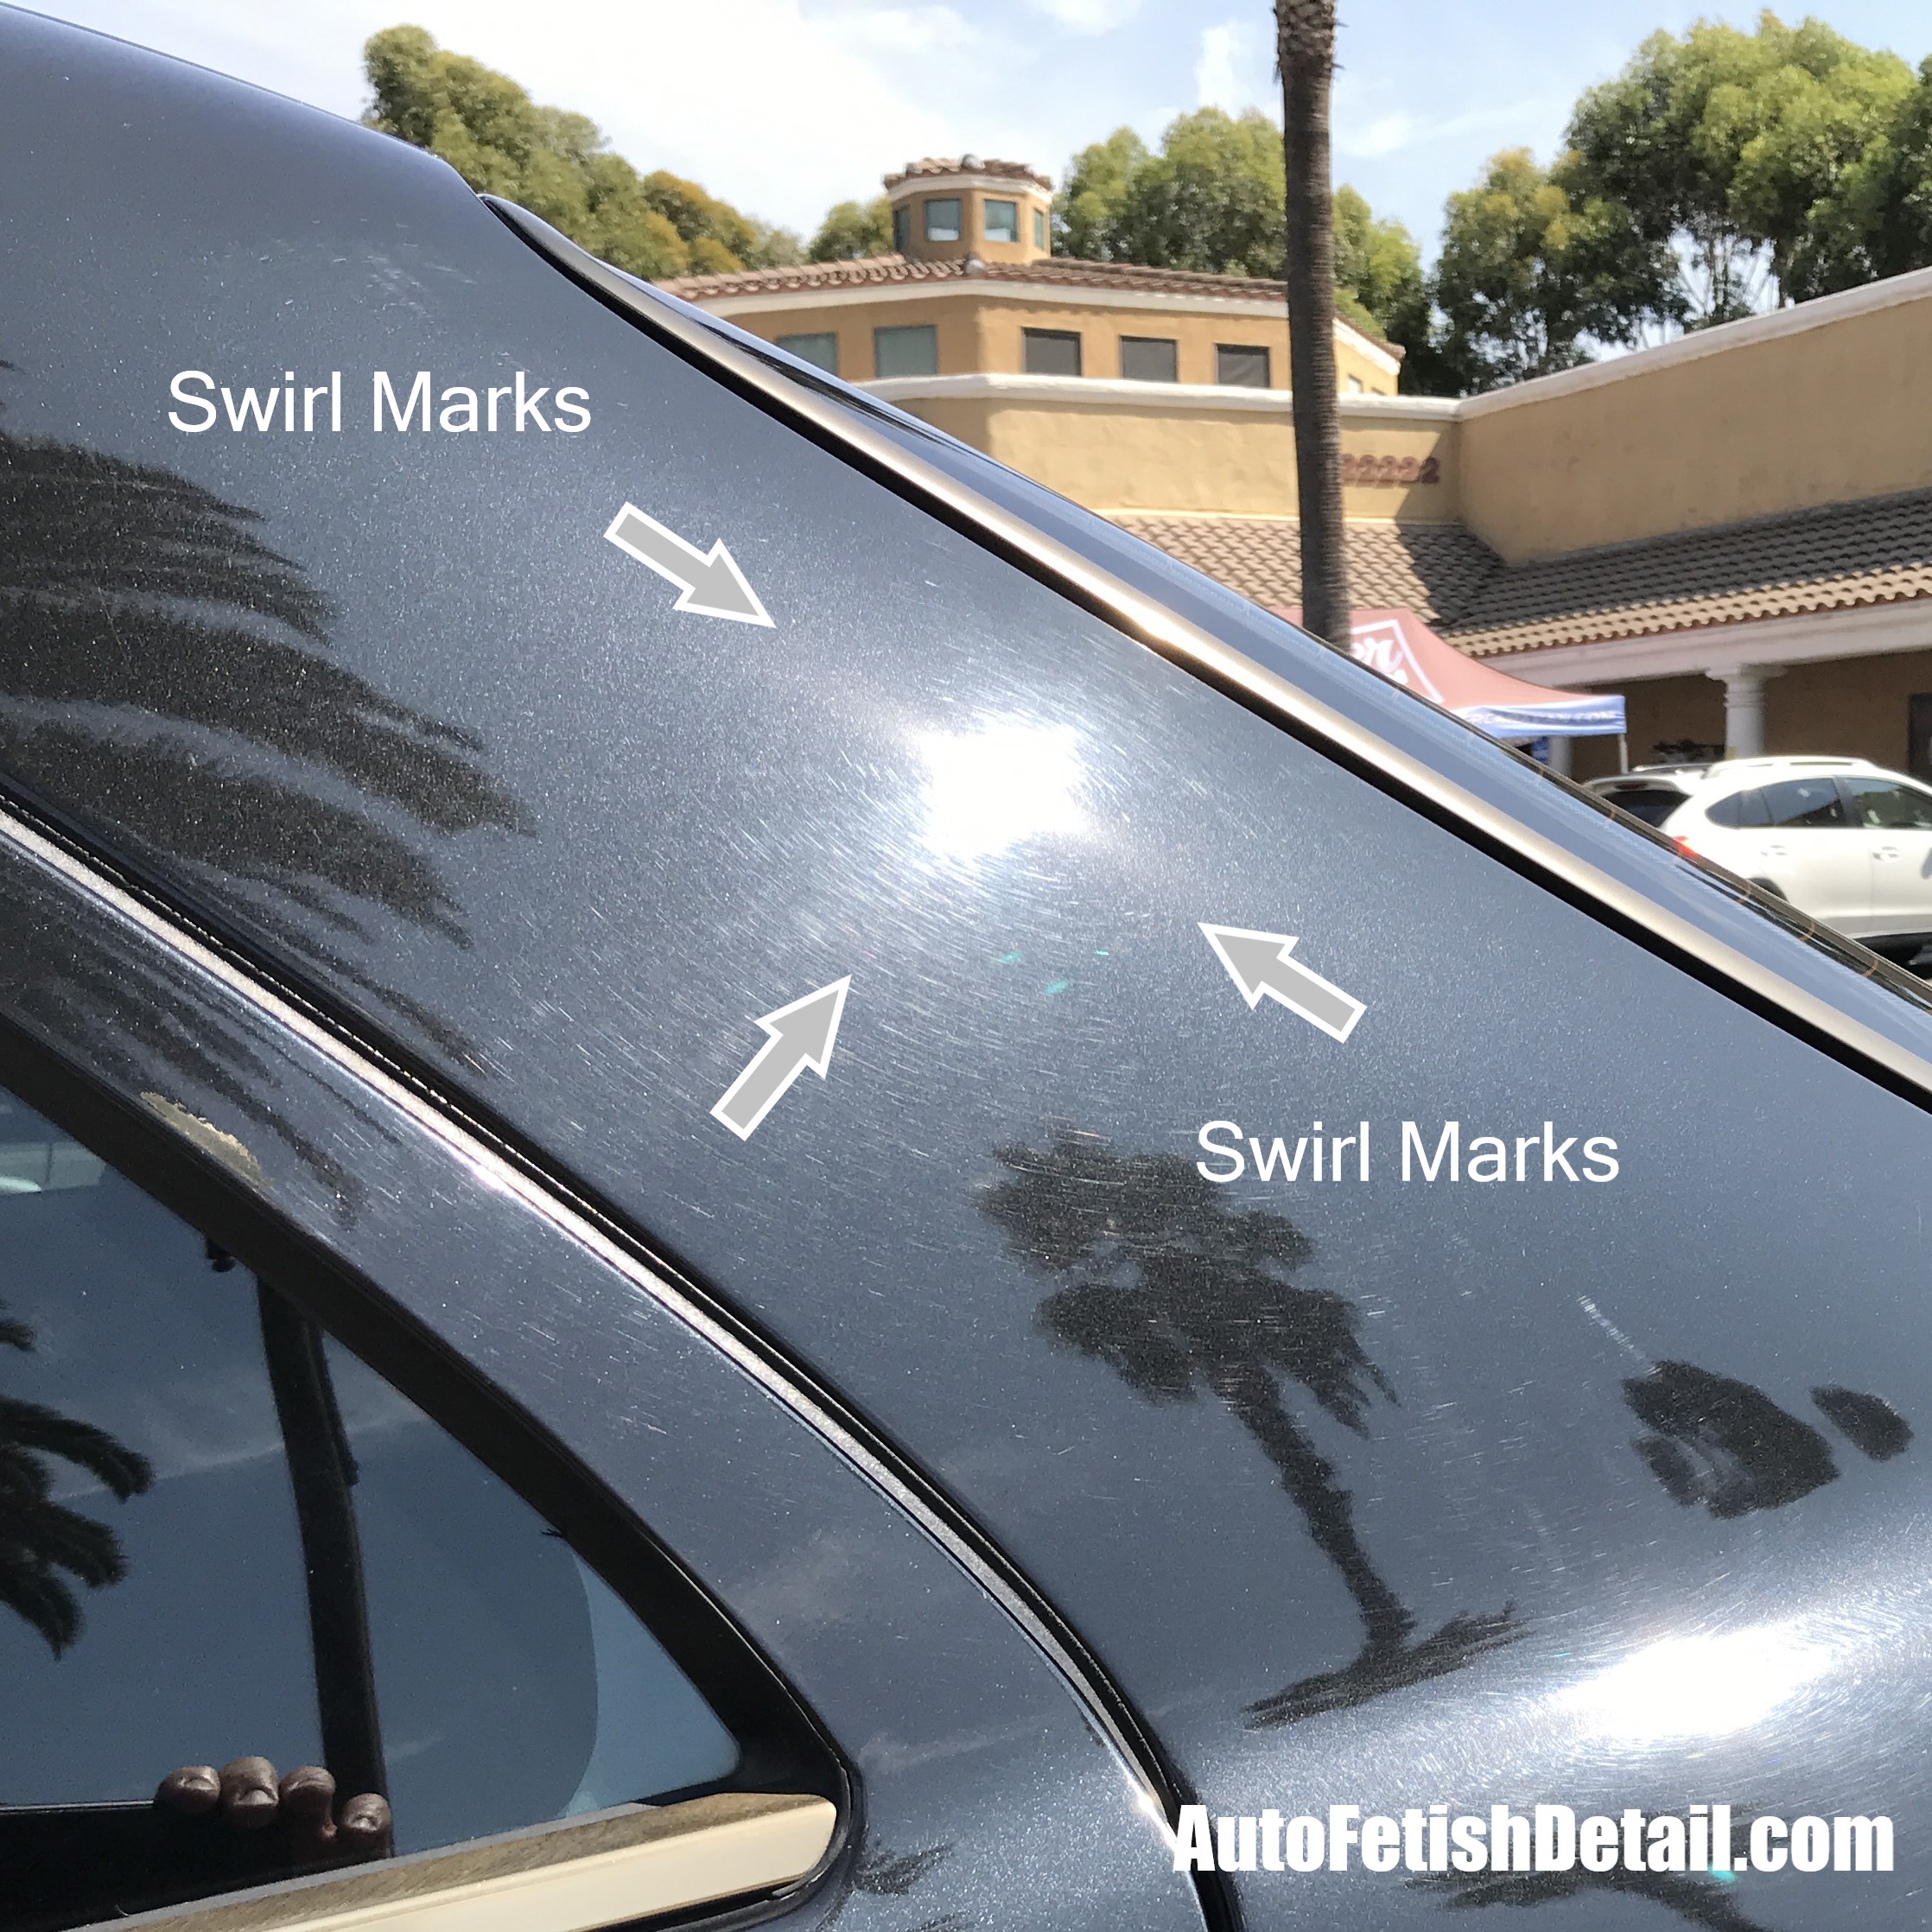
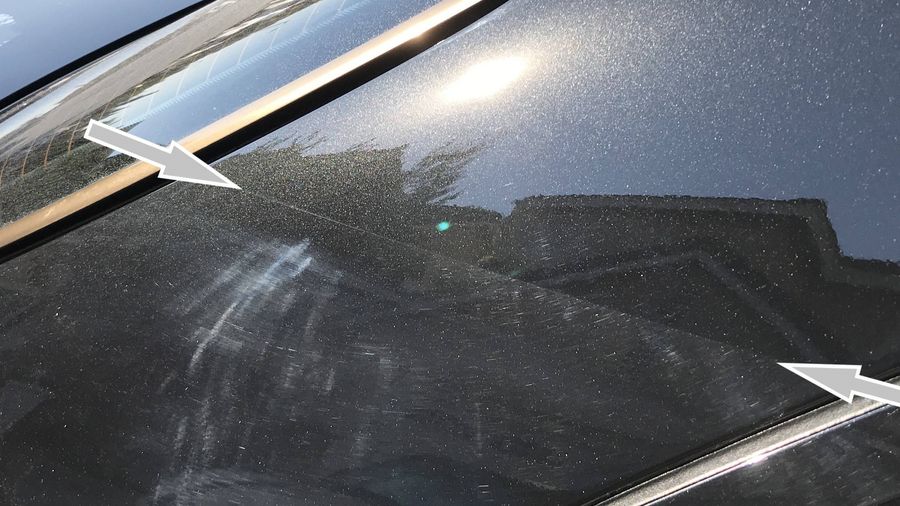
What are swirl marks and why they matter
Swirl marks are fine, circular scratches that show up when light hits the paint. They often look like spider web patterns and are most visible on dark or glossy finishes. While they might not go through the clear coat, they dull the paint and reduce resale value. Knowing what they are helps you choose the right method for repair.
Common causes of swirl marks
Swirl marks happen from tiny abrasions on the clear coat surface. Common causes include:
- Using a dirty or abrasive towel while washing.
- Automated car washes with stiff brushes.
- Dry wiping dust off without lubrication.
- Using the wrong polish pad or abrasive products.
- Over-aggressive polishing with a poor technique.
Swirl marks form over time. Fixing them requires matching the right level of correction to the damage.
Tools and products you need to remove swirl marks from car paint
Using the right gear makes the job faster and safer. Basic kit:
- Dual-action polisher for beginners and most jobs.
- A selection of foam or microfiber pads: cutting, polishing, and finishing.
- Cutting compound and polish: one more aggressive, one fine finish.
- Microfiber towels rated for paint work.
- Clay bar or clay mitt for decontamination.
- Soap with pH-neutral formula and grit guard for buckets.
- Spray detailer or quick detail spray for final wiping.
Optional pro tools:
- Rotary polisher for deep correction (use with care).
- Paint thickness gauge to check clear coat depth.
Match the pad and compound to the damage. Start mild. You can remove swirl marks from car paint without the most expensive products, but good pads and a correct technique are essential.
Step-by-step: How to remove swirl marks from car paint
This section shows a safe, repeatable method for how to remove swirl marks from car paint. Follow each step in order.
- Wash the car thoroughly.
- Rinse to remove loose dirt. Use two-bucket method and a soft wash mitt. Dry with a clean microfiber towel.
- Decontaminate the surface.
- Clay the paint to remove bonded contaminants. This makes polishing more even and reduces risk of new scratches.
- Inspect the paint.
- Work in shade and use bright, direct light. Identify the most affected panels and note paint depth or heavy scratches.
- Test spot.
- Pick a small area and try a mild polish with a finishing pad. If the swirl marks don’t improve, step up to a polishing pad and polish compound. Always test before full-panel work.
- Machine polish in controlled passes.
- Use a dual-action polisher. Do two to four short passes per spot with moderate pressure. Move slowly and keep the pad flat. Clean the pad often and wipe the area with a microfiber towel between passes.
- Move to finer polish.
- After removing most marks, switch to a softer pad and a fine polish. This step removes micro-marring and restores depth and gloss.
- Clean and inspect again.
- Wipe the area with an isopropyl alcohol (IPA) wipe to remove oils. This helps you see true results and catch any missed marks.
- Seal and protect.
- Apply a paint sealant or wax to protect the corrected surface. A ceramic coating offers longer-lasting protection.
- Final buff and maintain.
- After the protectant cures, do a light quick-detail wipe and keep to a gentle wash routine to avoid recurrence.
If you follow these steps, you’ll learn how to remove swirl marks from car paint safely and effectively without burning through the clear coat.
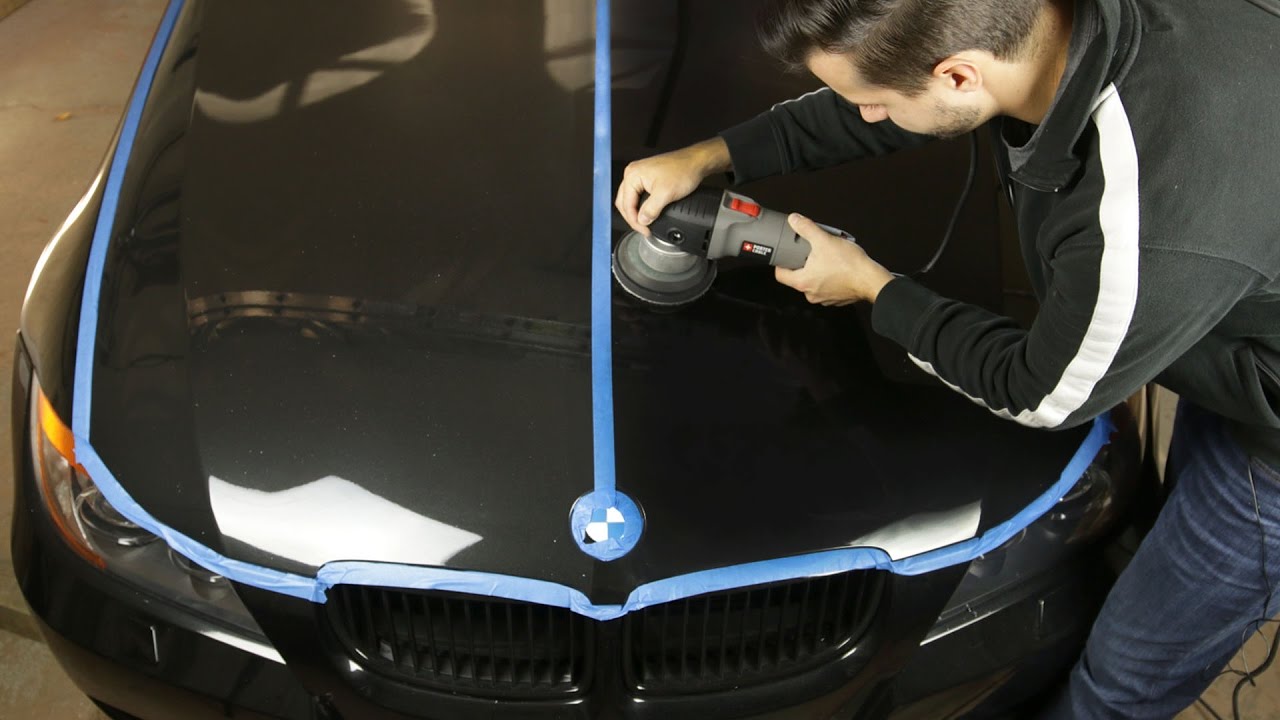
Machine polishing vs hand polishing: which to choose?
Machine polishing is faster and more consistent. A dual-action polisher reduces risk for beginners. It removes swirl marks more efficiently than hand polishing.
Hand polishing works for light marks and small touch-ups. It takes more time and effort. For stubborn swirls, machine polishing will give professional results.
If you’re new, practice on a small panel first. Start with mild abrasives and move up only as needed.

Paint types and when swirl marks are irreversible
Clear coat paint systems hide thin scratches if corrected properly. Single-stage paints and very thin clear coats limit how much you can remove. If a scratch penetrates through the clear coat to the color or primer, it’s permanent without repainting.
Use a paint thickness gauge if you plan heavy correction. Conservative removal saves clear coat life. When in doubt, consult a pro to avoid over-polishing.

Prevention and maintenance tips to avoid future swirl marks
Preventing swirl marks is easier than removing them. Adopt these habits:
- Wash in shade and use the two-bucket method with grit guards.
- Use a soft microfiber wash mitt and rinse mitt often.
- Dry with clean, plush microfiber towels using a blotting or patting motion.
- Avoid automated brush car washes and dry wiping.
- Apply a durable sealant or ceramic coating for protection.
- Use a quick detail spray before touching the paint to remove light dust safely.
Routine care keeps the paint glossy. Good habits will reduce how often you need to remove swirl marks from car paint.
My experience and pro tips
Years of detailing taught me a few hard lessons. One, always test spot before committing to a full panel. Two, over-aggressive compounding removes more clear coat than needed. Three, clean pads matter more than strong products.
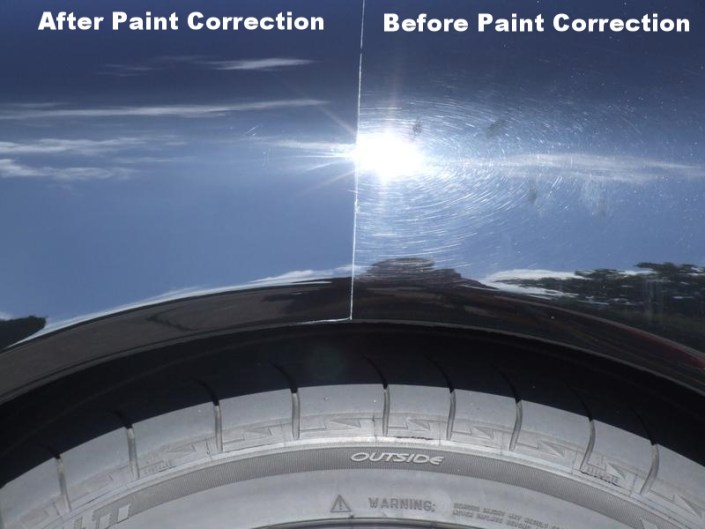
A personal trick: mark test spots with a small piece of painter’s tape. Work slowly and compare before and after in natural light. If a job feels risky, stop and get a second opinion. These small steps save paint and money.
Signs you should hire a pro
Some jobs need professional help. Consider a pro when:
- Swirls are deep and cover large areas.
- Paint thickness is already low.
- You lack proper tools or experience with a rotary polisher.
Pros have access to specialized polishers, paint gauges, and skill to avoid clear coat damage. Hiring a pro can be a safe investment for valuable cars.
Related concepts and terms to know
Knowing these terms helps when learning how to remove swirl marks from car paint:
- Clear coat: the transparent protective layer over color paint.
- Compound: an abrasive polish that cuts into the clear coat.
- Polish: a finer product that removes micro-marring and brings gloss.
- Pad types: cutting pads remove defects, polishing pads refine finish.
- DA polisher: dual-action polisher, safe for most users.
These basics help you pick the right approach for any paint correction job.
Frequently Asked Questions of How to remove swirl marks from car paint
Can I remove swirl marks myself?
Yes, light to moderate swirl marks can be removed at home with a dual-action polisher, proper pads, and polish. Start small and use conservative products to avoid clear coat loss.
How long does it take to remove swirl marks?
A single panel can take 30 to 90 minutes depending on severity and experience. Whole-car correction may take several hours to a full day.
Will waxing hide swirl marks?
Wax can hide minor hazing briefly but won’t remove swirl marks. Proper polishing is needed to actually eliminate them before sealing with wax or sealant.
Is a rotary polisher safe to use?
A rotary polisher is effective but riskier for beginners because it generates more heat and cuts more aggressively. Training or professional help is recommended before using one.
How often should I polish my car to prevent swirls?
Polishing frequency depends on exposure and care habits. Light polishing once or twice a year with frequent washing and a good sealant is a safe routine for most cars.
Conclusion
Removing swirl marks is a skill you can learn step by step. Start with gentle methods, use the right tools, and test before you commit to big corrections. Protect the finish afterward to keep your paint glossy and low-maintenance. Try the steps here, build your confidence with small test spots, and share your results or questions below to keep learning and improving.