How To Detail A Car Interior Like A Professional: Pro Tips
Clean every surface, remove clutter, deep-clean fabrics, protect finishes — done like a pro.
I’ve worked as a professional detailer for over a decade. I’ll show you how to detail a car interior like a professional with clear steps, smart product picks, and pro techniques. Expect simple language, real tips I use on daily jobs, and mistakes to avoid. Read on and you’ll be able to get pro-level results at home.

Why interior detailing matters
A clean interior looks great. It also protects resale value and keeps you healthy. Detailing removes dirt, allergens, stains, and odors that normal cleaning misses.
If you want to learn how to detail a car interior like a professional, focus on a process, the right tools, and gentle techniques. Professionals follow a repeatable order. That protects materials and gives lasting results.
Common quick questions people ask:
How often should I detail my car interior?
Detail thoroughly every 3 to 6 months. Light maintenance like vacuuming and wiping can be weekly or biweekly.
Will detailing remove deep stains and odors?
Often yes, but some stains or set-in smells may need specialized cleaning or repeated treatments.

Step-by-step: How to detail a car interior like a professional
Follow a fixed order to avoid cross-contamination and to save time. I list steps in the same order I use in my shop.
- Prepare and stage
- Park in shade with good light and ventilation.
- Gather tools: vacuum, brushes, microfiber towels, cleaners, extractor (if available).
- Remove valuables and trash.
- Declutter and remove mats
- Take out floor mats, trash, and loose items.
- Shake or beat mats outside before cleaning.
- Vacuum inside thoroughly
- Start top to bottom. Vacuum seats, crevices, floor, trunk, under seats.
- Use brush attachments for seams and cloth areas.
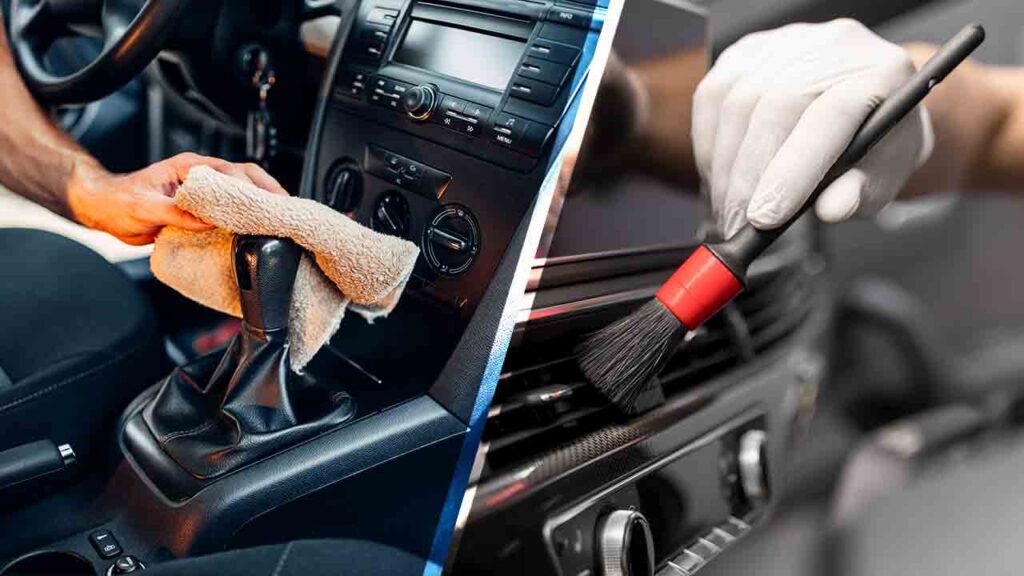
- Clean hard surfaces
- Use an all-purpose cleaner or dedicated interior cleaner.
- Clean dash, console, door panels, cup holders, and buttons with soft brushes and cloths.
- Clean vents and tight spots
- Use small nylon brushes, cotton swabs, or compressed air. Wipe afterward.
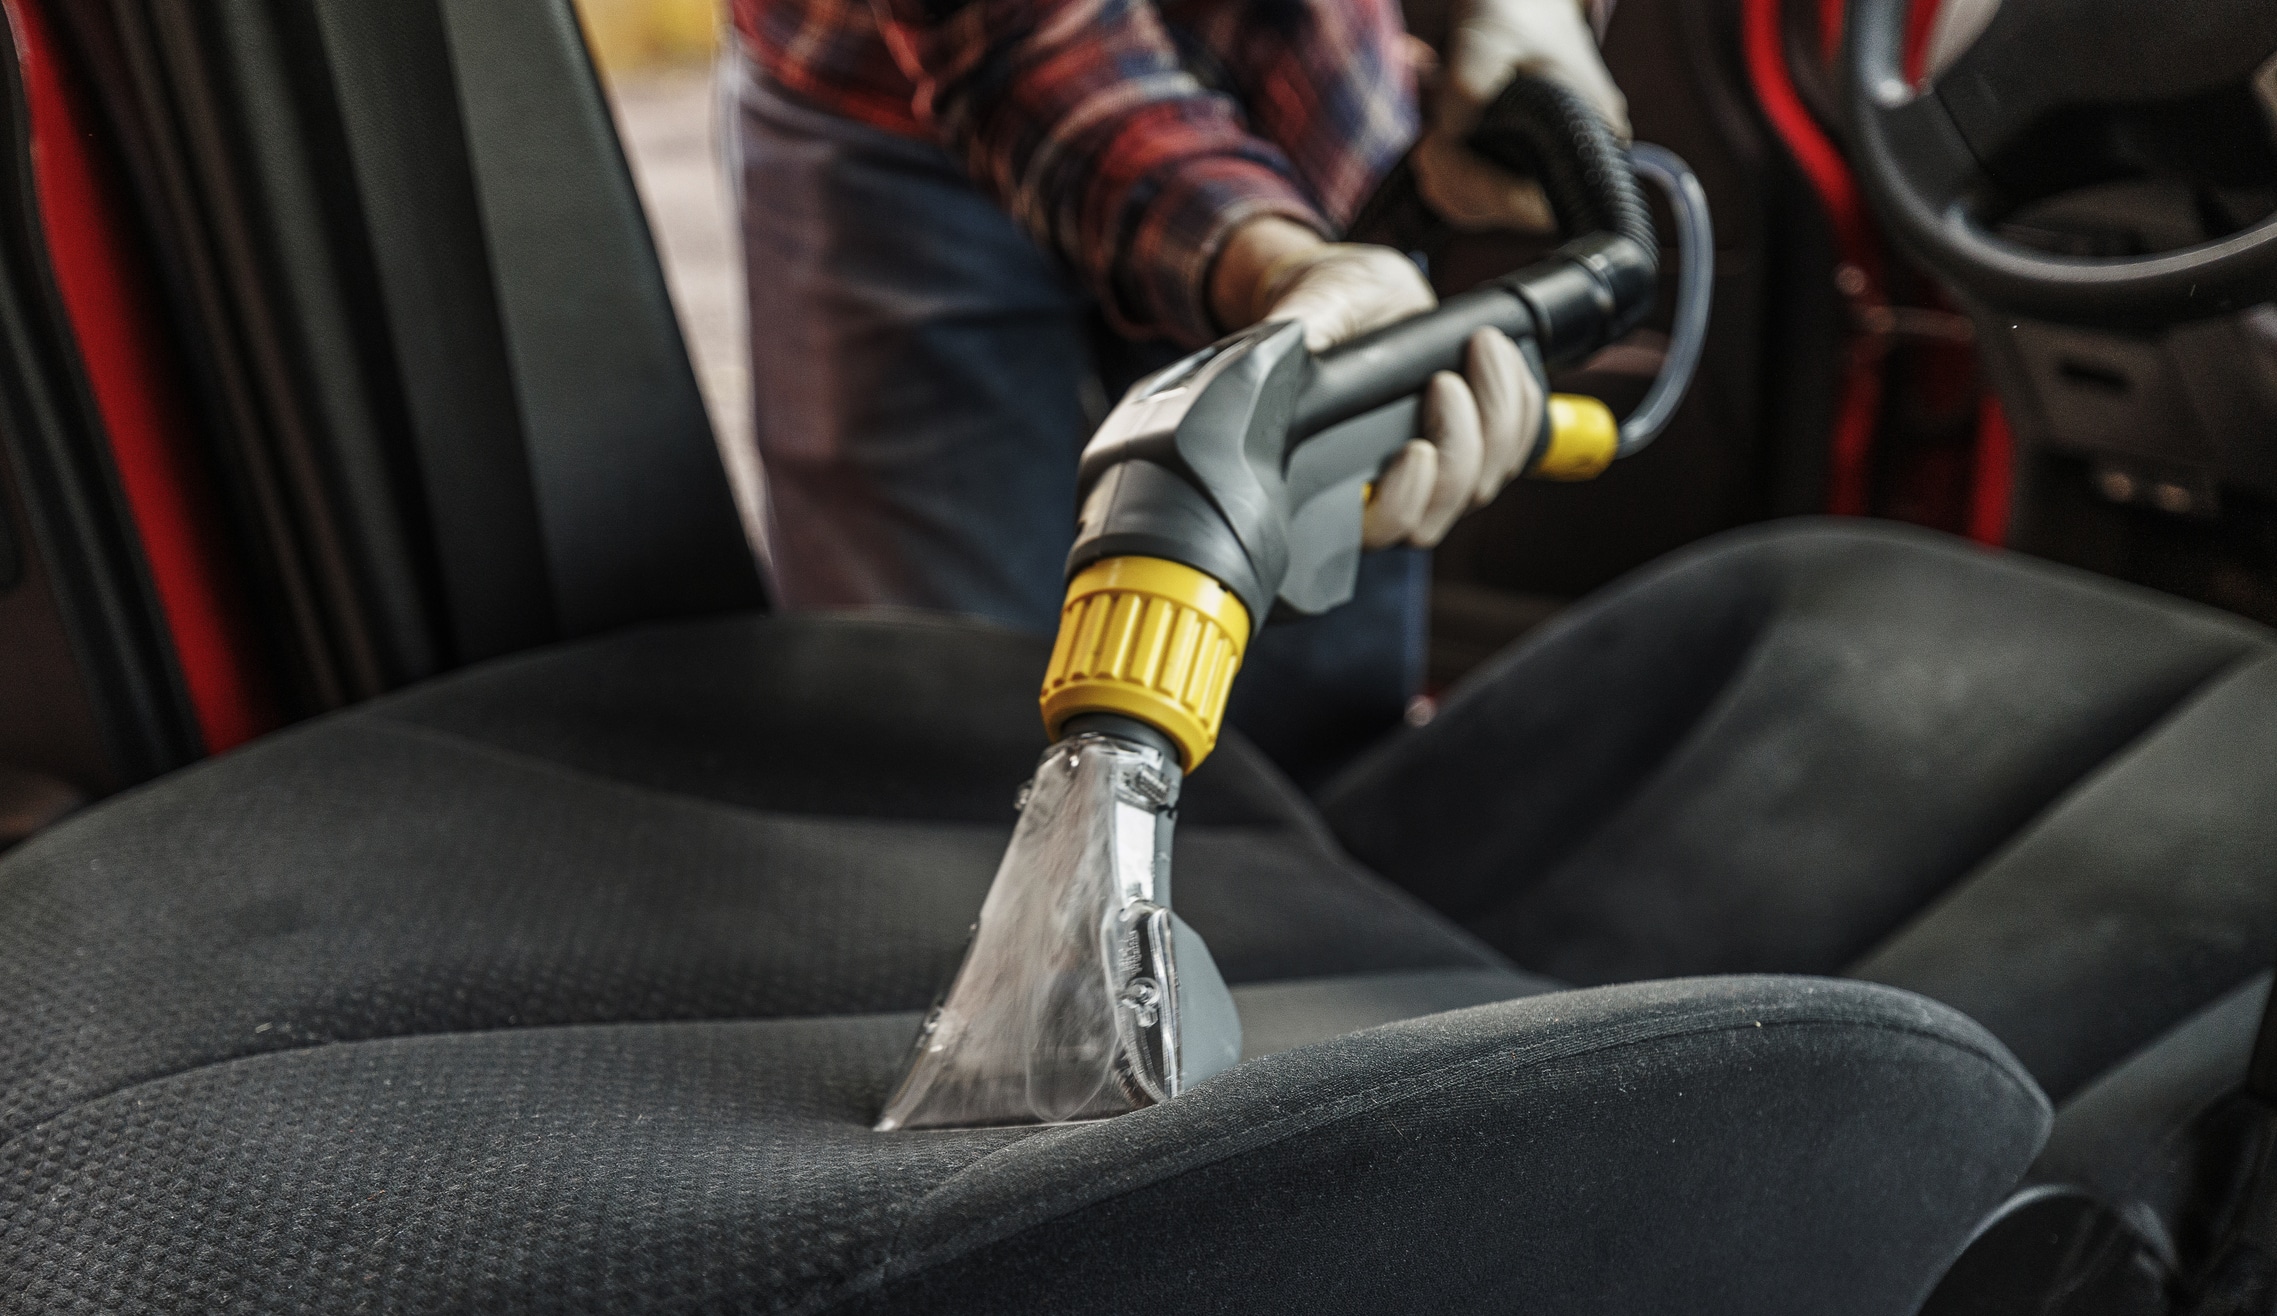
- Deep clean upholstery and carpets
- For fabric: agitate with a fabric cleaner and brush, then extract moisture with a wet/dry vacuum or extractor.
- For leather: use a pH-balanced leather cleaner and a soft brush. Wipe and condition.
- Clean glass and mirrors
- Use a streak-free glass cleaner and microfiber towel. Roll down windows slightly to reach top edges.
- Treat odors
- Use enzyme-based odor eliminators for biological smells. Avoid masking sprays as the only fix.
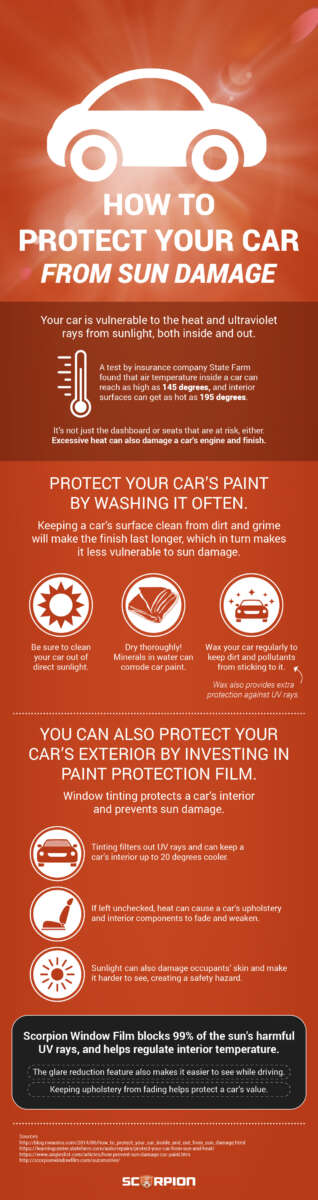
- Protect surfaces
- Apply protectant on leather and vinyl to restore oils and block UV damage. Use a small amount to avoid greasy finish.
- Final detail and inspection
- Replace mats (cleaned), tidy cables, wipe fingerprints, and do a walk-around inspection.
Throughout the process, stay gentle. If you want to master how to detail a car interior like a professional, repeat these steps in the same order until they become second nature.
Tools and products professionals use
Quality tools save time and give better results. Invest in a few key items first.
- Vacuum with crevice tool and brush attachments
– Microfiber towels in different weights - Soft detailing brushes and a stiff carpet brush
- Foam or trigger sprayer bottles
- Upholstery cleaner, leather cleaner, and protector
- All-purpose interior cleaner with pH balance
- Carpet and fabric extractor (optional but highly effective)
- Compressed air or small blower for vents
- Glass cleaner and lint-free cloths
- Odor eliminators (enzyme or ozone for severe cases)
Pick products labeled for automotive interior use. Test in a hidden spot before full use. When learning how to detail a car interior like a professional, product choice matters more than fancy gadgets.

Techniques for specific surfaces
Different materials need different care. Use the right technique for the job.
- Leather
- Clean with a dedicated leather cleaner using a soft brush.
- Condition with a non-silicone leather conditioner to prevent cracking.
- Fabric and carpet
- Pretreat stains, agitate with a brush, and extract with low-moisture methods.
- Vinyl and plastic
- Clean with gentle cleaner, then apply UV protectant sparingly.
- Alcantara and suede-like materials
- Use a soft brush and specialized cleaners; avoid water saturation.
- Trim and chrome
- Use mild cleaner and soft cloths to avoid scratching.
If you want to detail a car interior like a professional, tailor your approach to the surface. One-size-fits-all cleaners can hurt delicate materials.

Common mistakes and how to avoid them
Knowing what to avoid saves time and cost.
- Using household cleaners on leather
- These can dry and crack leather. Use automotive leather products.
- Over-wetting fabrics
- Excess water leads to mildew and odor. Extract moisture after cleaning.
- Skipping hidden areas
- Dirt builds in seat tracks, under pedals, and under seats. Check them.
- Applying too much protectant
- Heavy protectant looks greasy and attracts more dust.
- Rushing the job
- Professional results take time. Rushing creates sloppy work.
I learned these the hard way. Once I stopped over-saturating and started using extractors, callbacks from customers fell sharply.

Tips from my experience
I detail dozens of cars each month. Here are the lessons that made me faster and better.
- Work in zones
- Clean one area fully before moving on. It keeps the job organized.
- Keep a “detail kit”
- A small box with your go-to brushes and towels saves trips to the van.
- Pre-treat stains immediately
- The sooner you treat spills, the better the outcome.
- Use inspection light
- A small LED helps spot hidden dirt and gloss inconsistencies.
- Learn each material’s limits
- Heat and harsh chemicals can ruin interiors. Test first.
A personal tip: I always take before-and-after photos. They show progress and help build trust with clients. If you’re learning how to detail a car interior like a professional, photos will track improvement.
Time, cost, and maintenance schedule
Plan your time and budget for realistic results.
- Time
- A basic interior detail takes 1 to 2 hours for a small car. Deep cleaning and extraction can take 3 to 5 hours.
- Cost (DIY vs pro)
- DIY supplies cost $30–$200 depending on tools. Professional detail shops charge $75–$300+ depending on services.
- Maintenance schedule
- Light clean: weekly or biweekly. Full detail: every 3 to 6 months. Leather conditioning: every 3–6 months.
When you commit to regular care, it’s easier to maintain professional results. Knowing how to detail a car interior like a professional helps you set realistic DIY goals.

Safety and environmental considerations
Use safe practices to protect yourself and the planet.
- Ventilate the car when using cleaners.
- Wear gloves and eye protection for concentrated products.
- Dispose of wastewater responsibly. Avoid dumping wastewater into storm drains.
- Choose biodegradable or low-VOC products when possible.
- Use microfibre towels and wash them to reduce waste.
Be transparent about limitations. Some stains may be permanent and some odor sources need professional ozone treatment. A pro will tell you that up front.
Frequently Asked Questions of How to detail a car interior like a professional
What is the first step in professional interior detailing?
Start by removing all trash and personal items. Then vacuum and remove floor mats before cleaning.
Can I use household cleaners on my car interior?
Avoid household cleaners on automotive leather and trim. They can strip oils and fade surfaces. Use automotive-specific products.
How do professionals remove pet hair effectively?
They use rubber brushes, microfibre rollers, or slightly dampened squeegees. For heavy hair, a fabric brush and vacuum combination is best.
How long does a deep-clean interior take?
Expect 3 to 5 hours for extraction, stain removal, and drying. Time varies by size and condition.
Will detailing remove cigarette smoke smell?
Detailing can reduce and often remove smoke odor with deep cleaning and odor eliminators. Severe cases may require ozone or repeat treatments.
Conclusion
You now have a clear, repeatable path to learn how to detail a car interior like a professional. Start with the right order, use correct products, and protect each surface. Practice, patience, and small investments in tools will make a big difference.
Try one full detail this weekend. Take before-and-after photos and note what worked. If you found this helpful, leave a comment with your results or subscribe for more pro tips.