How To Restore Plastic Trim On Car Exterior: Quick Guide
Restore plastic trim on car exterior quickly with cleaning, rejuvenator, and trim dye.
I have spent years restoring cars and fixing faded trim. I will walk you through how to restore plastic trim on car exterior step by step. You will learn why trim fades, which products work, and when to use a quick fix or a long-term repair. This guide mixes hands-on tips, clear steps, and real-world advice so you can get great results without guessing.

Why exterior plastic trim fades and how restoration works
Plastic trim turns dull for two main reasons. UV rays break down the dye and the polymer. Road grime, oils, and salt speed the dulling. Heat and age can also cause the surface to crack or peel.
How restoration works is simple. Clean the trim to remove oils and dirt. Then restore the look with a dressing, dye, or paint. The aim is to return color and protect the plastic from future UV damage.
People also ask:
Can I restore trim with a household cleaner?
Yes. A mild degreaser or soap can remove dirt and oils. But you still need a restorer or dye for long-term color.
Is trim restorer permanent?
Most liquid restorers are temporary. Trim dye or repaint is more permanent and lasts years.
Will sanding damage the trim?
Sanding can help paint stick. Use fine grit and light touch. Too much sanding can harm the shape.

Materials and tools you need to restore plastic trim on car exterior
Gather these items before you start. Use good quality tools for a better finish.
- Cleaner and degreaser: For oil and grime removal.
- Plastic cleaner or isopropyl alcohol: For final wipe.
- Trim restorer: Quick fix for color return.
- Plastic dye or trim paint: For lasting results.
- Sandpaper: 400, 800, and 1200 grit for prep.
- Masking tape and paper: To protect paint and glass.
- Applicators: Foam pads, microfiber towels, or sponges.
- Heat gun or hair dryer: To help dye soak in (optional).
- Gloves and safety glasses: For safety.
- Optional: Plastic adhesion promoter and matte clear coat for paint jobs.

Step-by-step: Simple, quick method to restore plastic trim on car exterior
This is the fastest path. It brings back color for months to a year.
- Wash the trim.
- Use soap and water to remove road dirt.
- Rinse and dry with a clean towel.
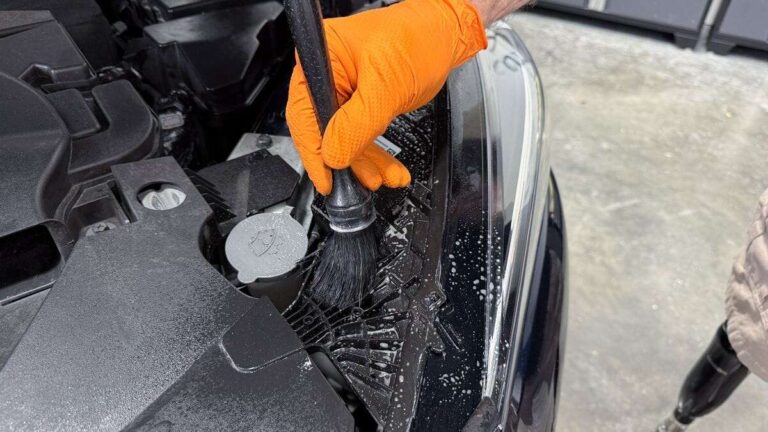
- Degrease the area.
- Apply a degreaser or isopropyl alcohol on a microfiber cloth.
- Wipe until no oily residue remains.
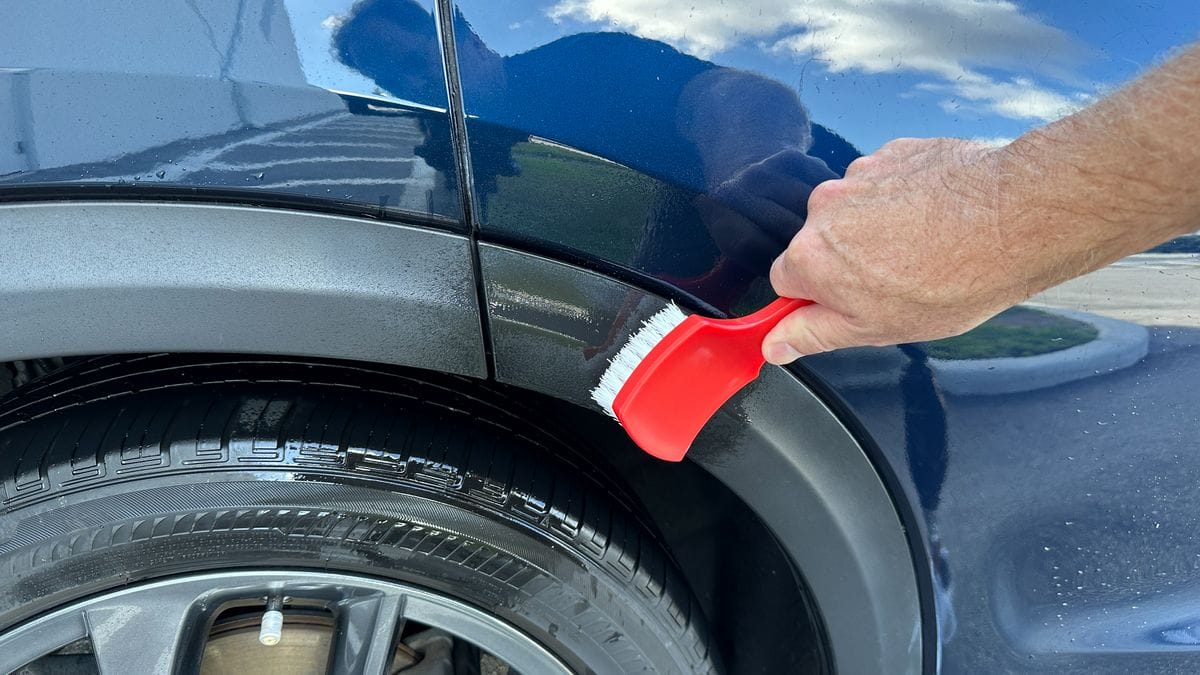
- Apply trim restorer.
- Use a small foam applicator or cloth.
- Work in short strokes along the grain.
- Let dry as the product instructions say.
- Buff lightly.
- Remove excess with a clean towel.
- If the color is uneven, repeat one more coat.
This method is ideal when you want to restore plastic trim on car exterior fast. It is low cost and safe for most plastics. Results last months, but not years.
Step-by-step: More permanent restoration with plastic dye or paint
For long-term results, use dye or paint. This takes time but holds up better.
- Prep and mask.
- Clean and degrease the trim well.
- Mask all nearby painted surfaces and glass with tape and paper.
- Sand the trim.
- Use 400 grit to scuff the surface. This helps adhesion.
- Wipe with isopropyl alcohol.
- Apply adhesion promoter.
- Spray a light coat if you have it. Let it flash dry.
- Apply trim dye or paint.
- Use thin coats. Hold the spray 6–8 inches away.
- Wait 5–10 minutes between coats.
- Apply 2–4 coats for solid coverage.
- Cure and protect.
- Let dye or paint cure per instructions, usually 24–48 hours.
- Finish with a matte clear coat if you want a factory look.
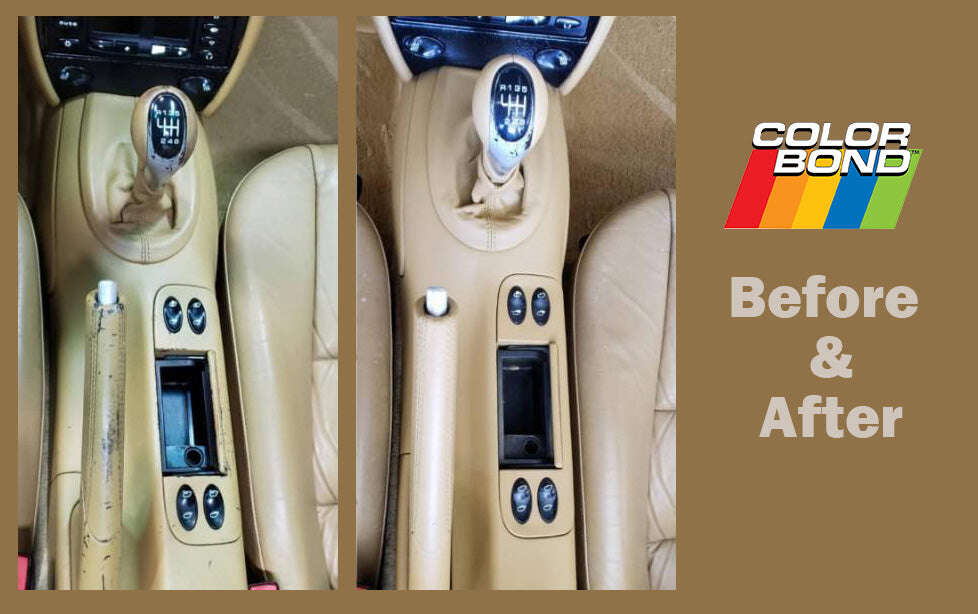
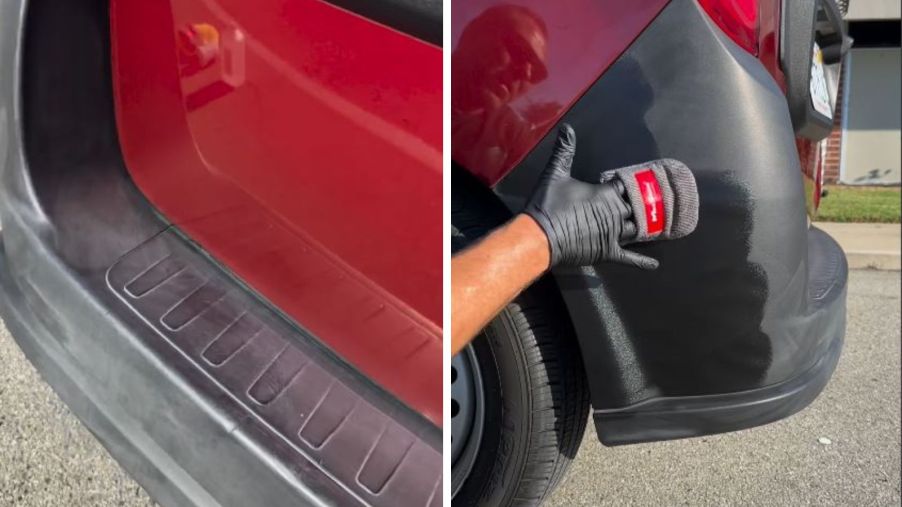
This process helps you restore plastic trim on car exterior with a durable finish. It is the right choice for heavily faded parts or for resale value.

Protecting and maintaining restored plastic trim
After you restore plastic trim on car exterior, protect it to keep the look. Regular care extends the result.
- Wash regularly: Use mild soap and water to avoid buildup.
- Apply UV protectant: A silicone-free protectant shields plastic from UV.
- Park in shade: Reduce sun exposure when possible.
- Reapply restorer: Do this every 3–6 months for quick methods.
- Avoid harsh chemicals: Solvents and strong cleaners strip finish.
Simple habits keep trim looking new. I test products over months to see how they hold up. Small, regular steps beat a big redo later.
Common mistakes and how to avoid them
Learn from my mistakes. These tips save time and give better results.
- Rushing prep: Skipping cleaning causes poor adhesion. Always clean well.
- Using oils: Oil-based dressings look good at first but wash off quickly. Use water-based restorers for longer life.
- Heavy sanding: Too much sanding changes trim shape. Sand lightly.
- Over-spraying paint: Thick coats drip and peel. Use thin, even coats.
- Skipping masking: Paint or dye can ruin adjacent paint if not masked.
Avoid these traps to restore plastic trim on car exterior properly. I learned these the hard way on a weekend project.

DIY vs professional services: when to hire a pro
Decide based on scope and skill. Small areas you can do at home. Big jobs or textured trims sometimes need pros.
Choose DIY when:
- You have a few trims to fix.
- You want a low-cost solution.
- You are comfortable with masking and spraying.
Hire a pro when:
- Trim is cracked or warped.
- You want color matched to factory finish.
- You need textured restoration or full bumper work.
A pro can save time and deliver a near-factory result. But many owners can restore plastic trim on car exterior themselves with good products.

Personal experience and practical tips
I once restored all trim on a ten-year-old SUV. I used dye for bumpers and restorer for side moldings. The dye lasted two years and looked factory. The restorer lasted four months. From that job I learned to always test a small area first. Also, I now prefer matte clear coat over glossy finishes for OEM match.
Practical tips:
- Test products on a hidden spot before full use.
- Work in shade and mild temps to avoid fast drying.
- Use light coats when spraying to prevent runs.
- Keep a small bottle of restorer for touch-ups.
These tips come from hands-on work. They help you restore plastic trim on car exterior with less worry.

Frequently Asked Questions of How to restore plastic trim on car exterior
How long does a trim restorer last?
A liquid restorer typically lasts 3–12 months. Exposure to sun and washing shortens life.
Is trim dye safe for all plastics?
Most dyes work on common exterior plastics. Test on a small area to be sure of adhesion and color.
Can I use a heat gun to darken trim?
A heat gun can help dye soak in, but use low heat. High heat may warp trim.
Will repainting trim affect resale value?
A neat, factory-like repaint can improve value. Poor paint jobs can lower it.
Do I need to sand before using trim restorer?
You do not need to sand for quick restorers. Sanding helps when using dye or paint for permanent results.
Conclusion
Restoring plastic trim on car exterior is a task you can do well with the right prep, products, and care. Clean the trim, choose a method that fits your goals, and protect the finish to keep it looking fresh. Start small, test your products, and take your time for the best outcome. Try one trim area this weekend, and share your results or questions below — I’d love to help you perfect the finish.