How To Remove Tree Sap From Car Paint Safely: Easy Steps
Quick fix: Gently dissolve sap with isopropyl alcohol or a commercial sap remover, then wash and wax.
I’ve spent years fixing small paint problems, and I know how stubborn tree sap can be. This guide on How to remove tree sap from car paint safely shows step-by-step methods you can trust. You’ll learn what sap does to clearcoat, which products work, safe DIY tricks, and when to call a pro. Read on for clear, tested advice to protect your car’s finish and remove sap without damaging paint.
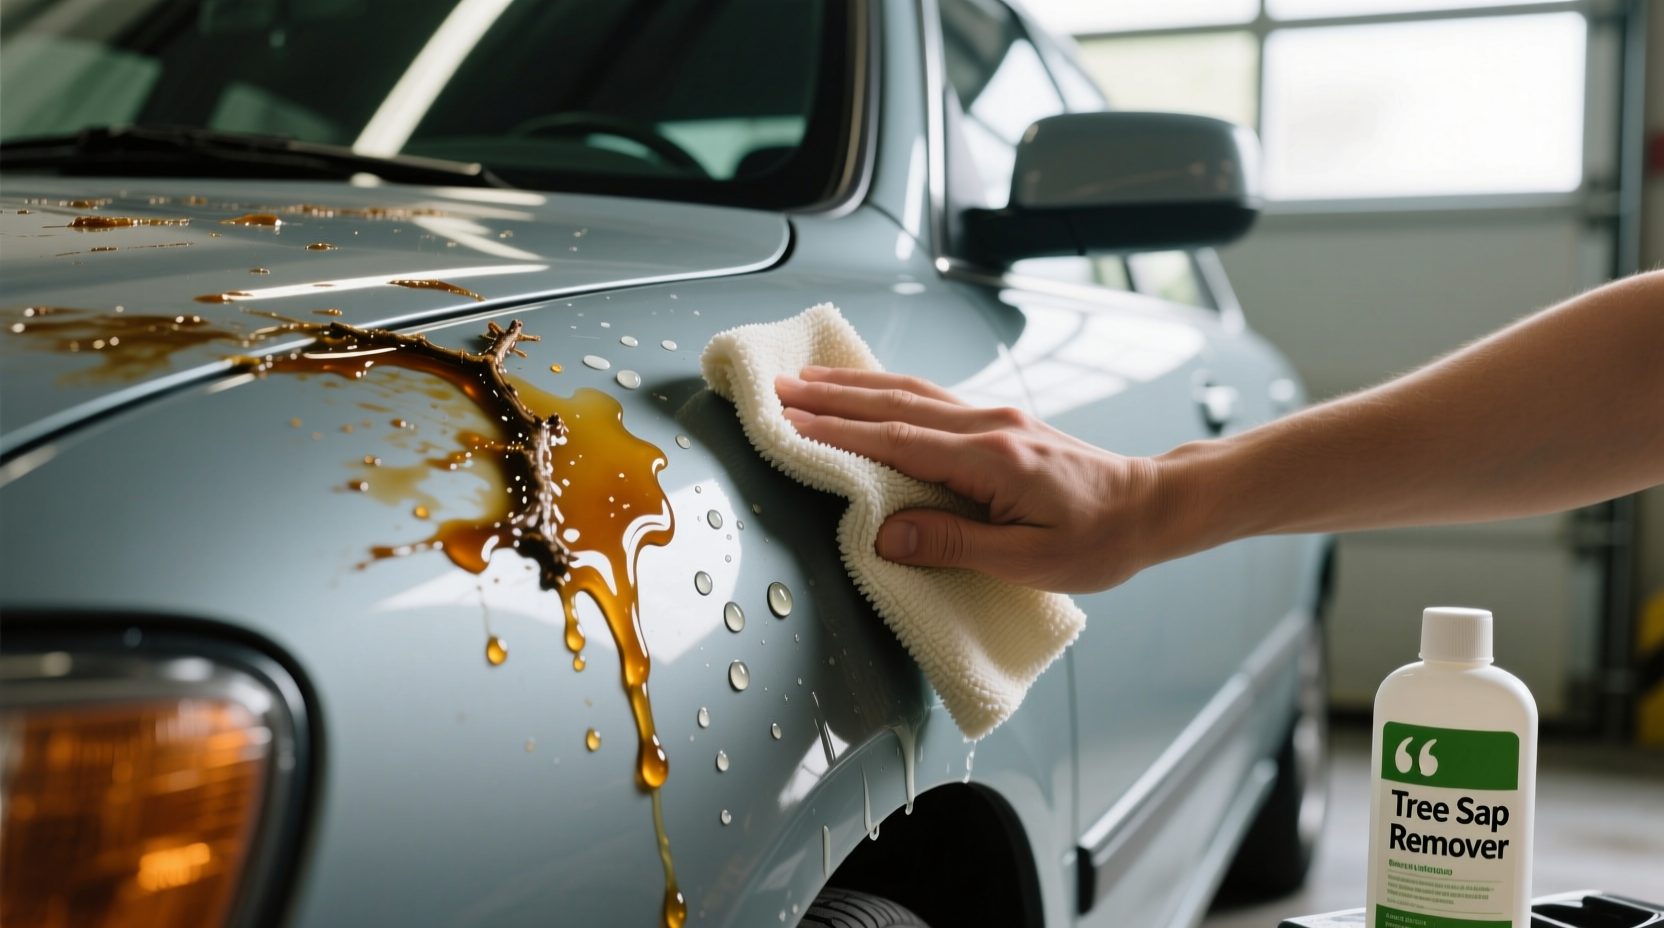
Why tree sap sticks and why timing matters
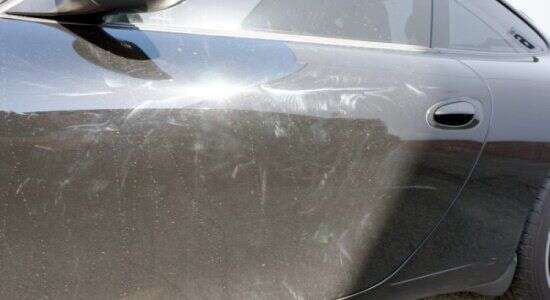
Tree sap is a sticky resin that dries hard. It bonds to clearcoat and attracts dirt. Left for days, sunlight bakes sap into the finish. That makes removal harder and increases the risk of paint damage. Quick action reduces the chance of staining or etching.
How to remove tree sap from car paint safely starts with understanding the problem. The sooner you act, the gentler the method you can use. If sap sits too long, you may need polish or paint correction later.
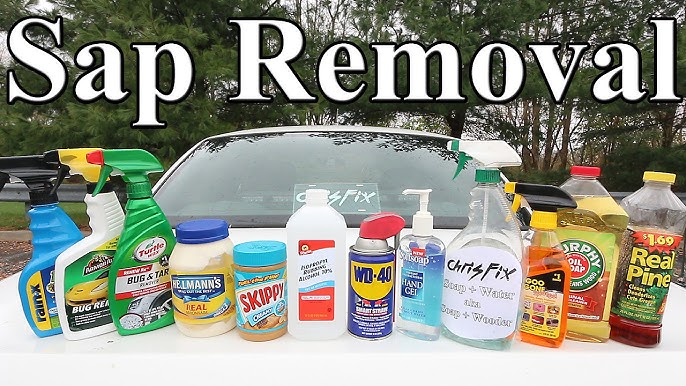
Tools and materials you will need
Keep a simple kit ready. This makes How to remove tree sap from car paint safely fast and easy.
- Isopropyl alcohol (70% to 90%) or rubbing alcohol
- Commercial tree sap remover or bug-and-tar remover
- Microfiber towels, clean and soft
- Car shampoo and bucket
- Spray bottle with water
- Clay bar kit (for stubborn residue)
- Car polish and paint sealant or wax
- Gloves and safety glasses
- Plastic razor blade (optional) for very thick spots
Test new products on an inconspicuous area first. This prevents surprises on sensitive paints.

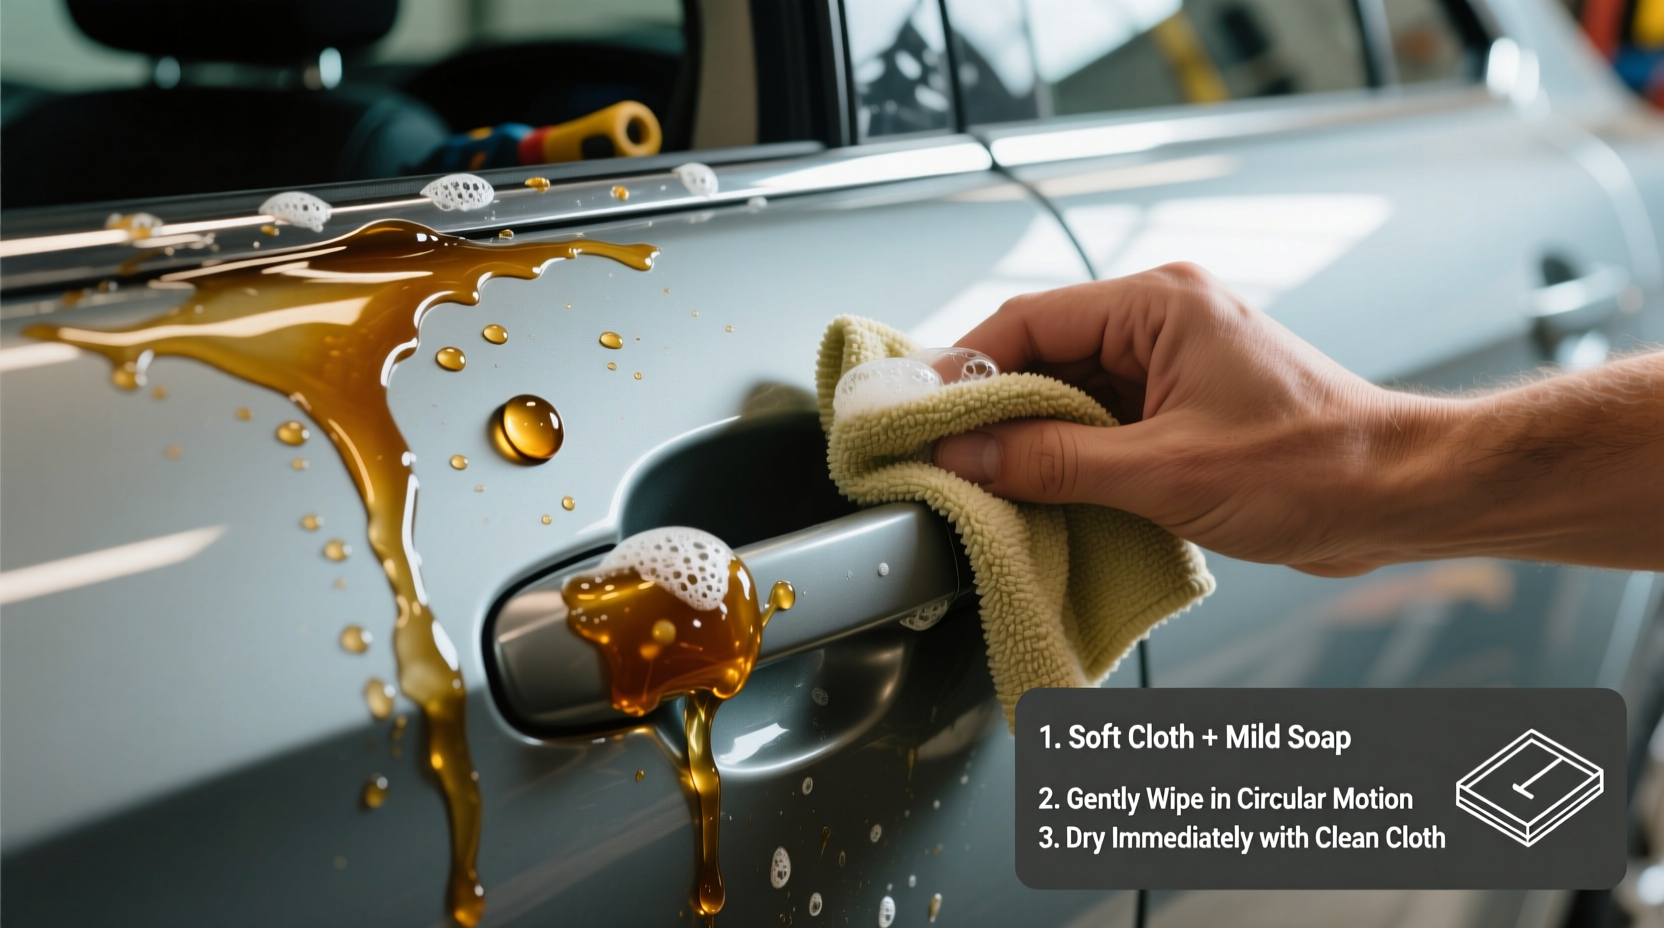
Step-by-step: How to remove tree sap from car paint safely
Follow this tested sequence. Keep the steps short and simple.
- Inspect the sap spot
- Check how hard and how old the sap looks. Fresh sap is soft. Old sap is brittle and dark.
- Wash the area
- Use car shampoo and water. Remove dirt and grit first. This lowers the risk of scratching.
- Pre-soften the sap
- Apply isopropyl alcohol to a microfiber towel. Hold it on the sap for 30–60 seconds. The alcohol dissolves resin.
- Gently lift the sap
- Wipe in soft strokes. Do not rub hard. If sap resists, repeat alcohol application.
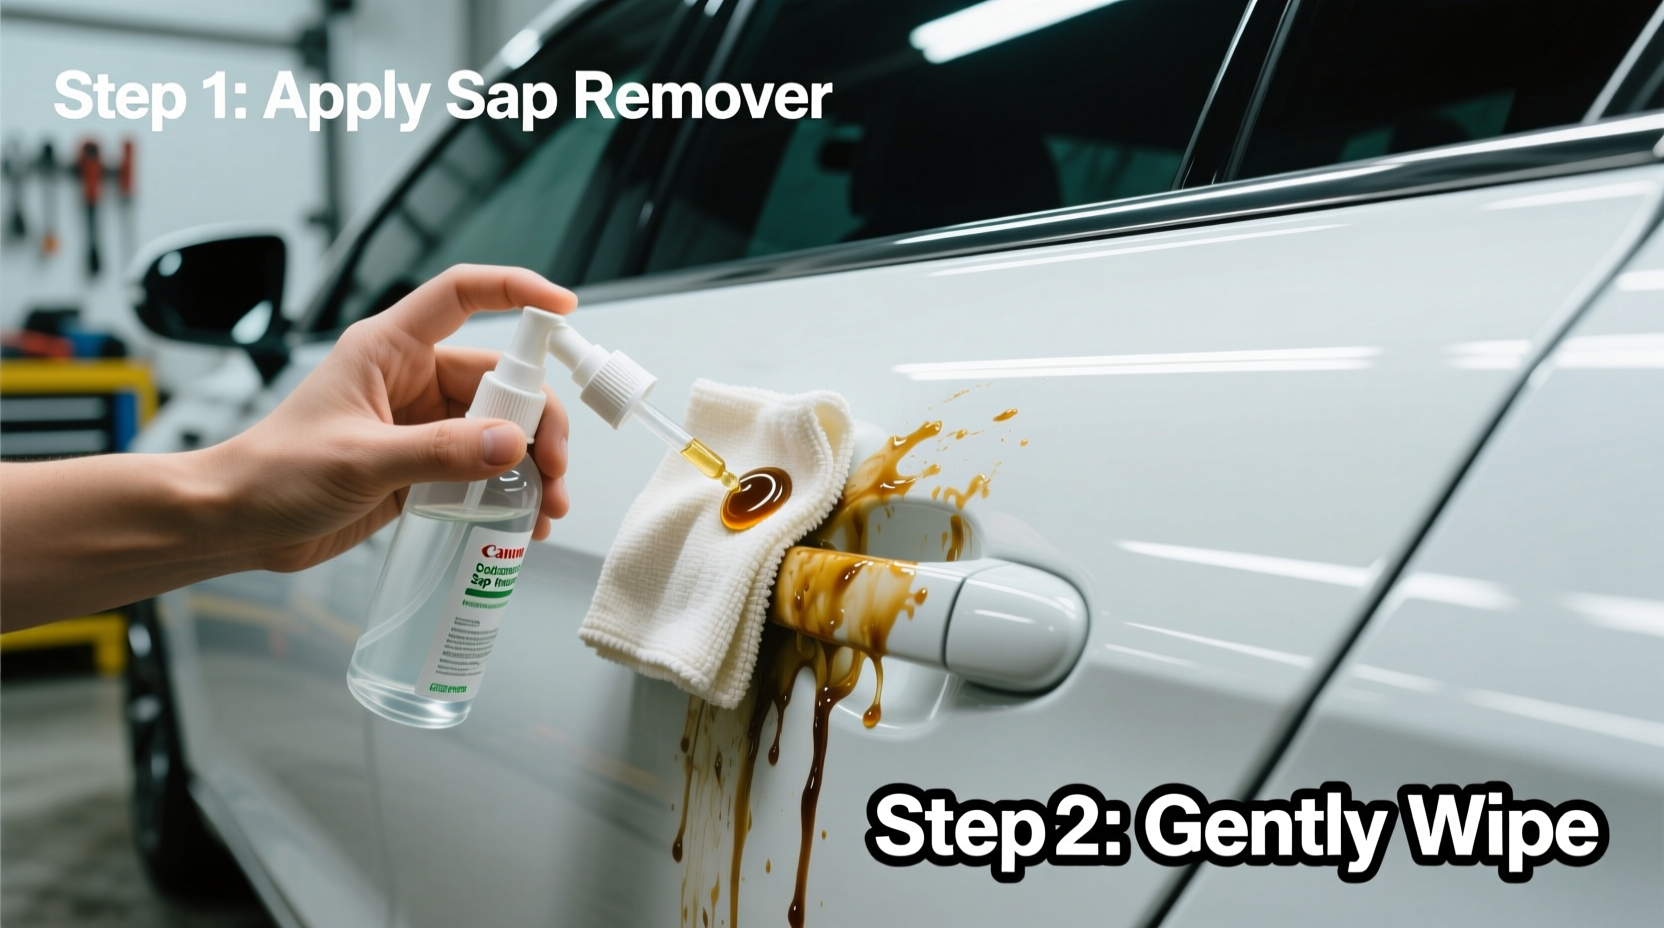
- Use a commercial sap remover if needed
- Follow product directions. Spray, wait recommended time, then wipe gently.
- Clay bar for residue
- Lubricate and glide the clay bar across the area. This removes sticky residue without damaging paint.
- Clean and inspect
- Wash the area again. Dry with a clean microfiber towel. Look for any clouding or finish change.
- Polish and protect
- If the clearcoat looks dull, use light polish. Then apply wax or sealant to restore protection.
This order helps you remove sap while keeping the clearcoat intact. Practice on one spot first if you’re unsure.

Home remedies vs commercial products
Both options work when used right. Choose based on sap age and paint sensitivity.
- Home remedies
- Isopropyl alcohol: safe and widely available. Good for fresh to semi-hardened sap.
- Cooking oil or peanut butter: can soften sap but leaves a greasy mess and attracts dirt.
- Vinegar: mild solvent but less effective than alcohol.
- Commercial products
- Sap removers and tar removers are formulated for clearcoat safety. They often act faster and require less elbow grease.
- Detailer’s clay lubricant and clay bars are designed specifically for residue.
I prefer isopropyl alcohol for small spots and a commercial remover for older, tougher sap. Both worked in my shop and on my own cars when used with a gentle touch.

Safety precautions and paint checks
Protect the paint and yourself. Small steps prevent big mistakes.
- Always test on an inconspicuous panel first.
- Use soft microfiber towels to avoid swirl marks.
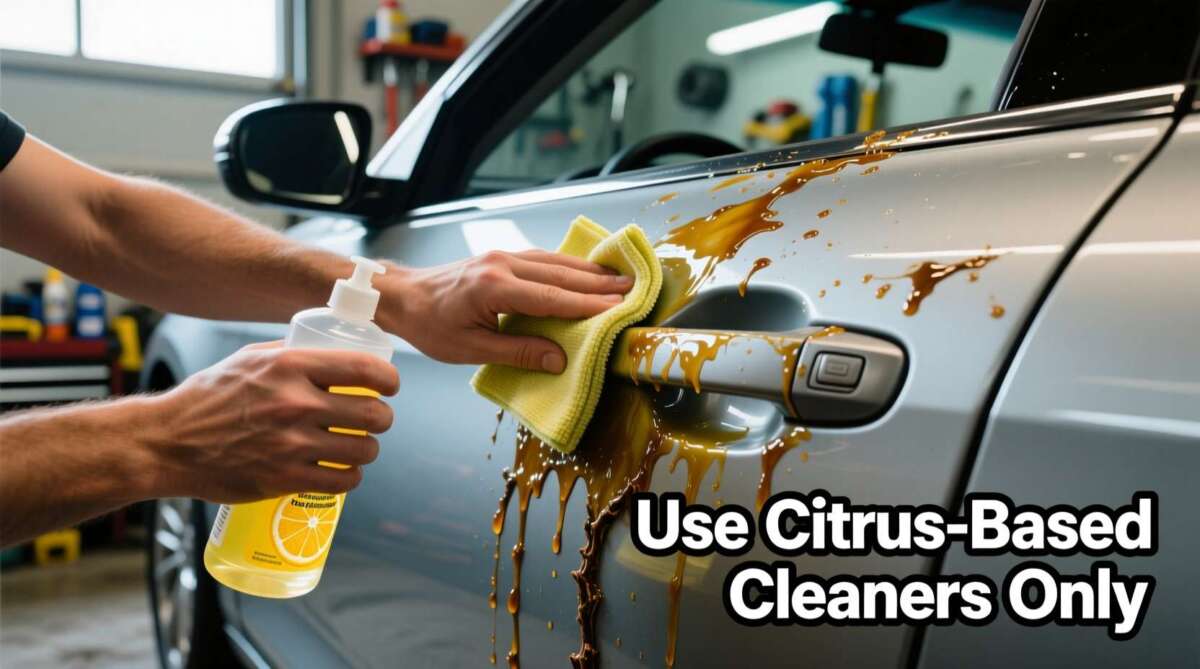
- Don’t use abrasive scrubs or strong solvents like acetone on paint.
- Avoid hot surfaces. Work in shade and on cool panels.
- Wear gloves and eye protection when using concentrated solvents.
If you see a change in color or clearcoat haze after removal, stop and move to polishing or professional help.
When to use a clay bar or polish
Clay bar and polish are the next steps after sap removal. Use them to restore smoothness and shine.
- Clay bar removes microscopic contaminants left by sap.
- Light polish corrects minor clearcoat dulling caused by sap.
- Finish with a paint sealant or wax to protect the area.
If sap caused deep etching, polish may not fully fix it. That may need paint correction or a pro detailer.

Common mistakes to avoid
Avoid actions that worsen the damage.
- Scraping hard with metal tools. This risks clearcoat scratches.
- Using harsh solvents like acetone or nail polish remover on paint.
- Skipping the wash step. Dirt causes scratches during removal.
- Rushing to polish before all sap is removed. Trapped sap can dull polish.
I once scraped a stubborn spot with a coin and caused a small scratch. It took more work to fix that scratch than to remove the sap correctly.
When to seek professional help
Call a pro when damage is deep or the sap covers a large area.
- Large tar-like patches after months of exposure
- Signs of clearcoat etching or color change
- Paint that feels rough after all DIY attempts
Professionals can perform paint correction, buffing, or re-clearcoat if needed. This is safer than aggressive home polishing for serious damage.
PAA-style quick questions
What makes sap damage the paint?
Sap contains acids and resins that can etch clearcoat when baked by sun. Dirt and time make the effect worse.
Can I remove sap with household oil?
Yes, oil can soften sap but leaves residue. You will still need soap and water to clean the oily film.
Is rubbing alcohol safe on all finishes?
Isopropyl alcohol is safe for most finishes when used briefly and wiped clean. Always test first on a small area.
How long do I have to remove sap?
Ideally within hours to a few days. The longer sap stays, the higher the risk of etching and staining.
Will waxing prevent sap sticking?
Wax makes it harder for sap to bond to clearcoat. It won’t stop sap entirely, but it helps with easier removal.
Frequently Asked Questions of How to remove tree sap from car paint safely
How soon should I remove tree sap from my car?
Remove sap as soon as you notice it. Fresh sap comes off easily. Older sap may need stronger solvents or clay.
Can isopropyl alcohol damage car paint?
Isopropyl alcohol is safe in short uses. Test on a hidden spot and wipe off thoroughly after softening sap.
Will WD-40 remove tree sap from paint?
WD-40 can help loosen sap but leaves an oily film. Clean the area with car soap afterward and follow up with wax.
Should I use a razor blade to scrape sap off?
Avoid metal razor blades on paint. Use a plastic razor only if the sap is very thick and other methods fail.
What if sap etched the clearcoat?
If etching is visible, use light polish or seek professional paint correction. Deep etching may require re-clearcoating.
Conclusion
You can remove tree sap safely by acting fast and using mild solvents or a commercial sap remover. Start with washing, soften with isopropyl alcohol, and lift gently with microfiber towels. Use a clay bar and polish for stubborn residue, then protect with wax or sealant to prevent repeat problems. Take your time, test products first, and avoid abrasive tools. Try these steps on one spot today to protect your car’s finish, and leave a comment if you want advice for a specific sap problem or product.