How To Clean Car Headlights That Are Cloudy And Yellow: Pro
Use mild abrasives and a UV sealant to remove yellow haze and restore clear light.
I have restored dozens of lenses and tested simple and advanced methods for how to clean car headlights that are cloudy and yellow. I’ll walk you through why lenses yellow, what tools work best, step-by-step fixes you can do at home, and when to call a pro. Expect clear steps, safety tips, and honest advice from real experience.

Why headlights turn cloudy and yellow
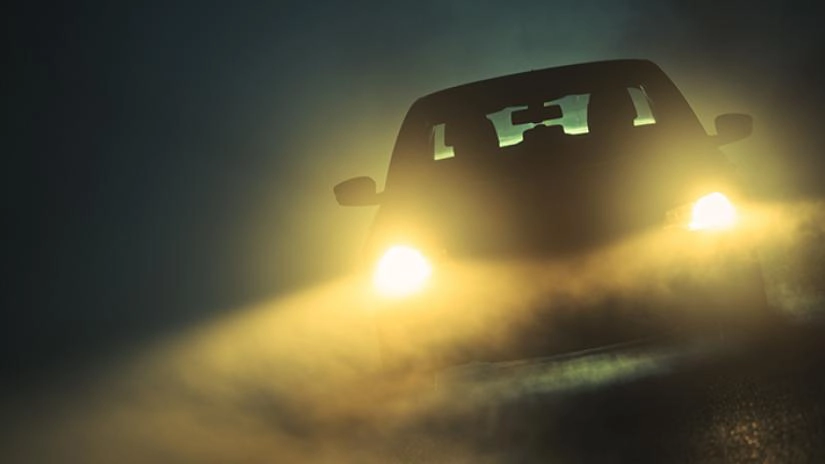
Headlight lenses are usually made of polycarbonate plastic. Over time they oxidize. Sunlight, heat, road salts, and tiny rock chips wear the clear coating off. The plastic then turns hazy and yellow. This lowers light output and can fail safety checks.
Common causes
- UV exposure wears down the protective coating.
- Chemical exposure from cleaners and road grime eats the clear coat.
- Physical wear from road debris causes micro-scratches.
- Heat from the bulb can darken older plastic.
Knowing these causes helps you pick the right fix. Many readers ask how to clean car headlights that are cloudy and yellow after seeing dull light or yellow haze. The right method depends on how deep the damage is.
Tools and materials you’ll need
Choose safe, simple tools. For light haze, a household product can work. For heavy yellowing, you need sandpaper, polish, and a UV sealant.
Basic list
- Microfiber cloths
- Soap and water
- Painter’s tape to mask paint
- Spray bottle with water
- Masking plastic or paper to protect the bumper
- Toothpaste (non-gel) or baking soda for light haze
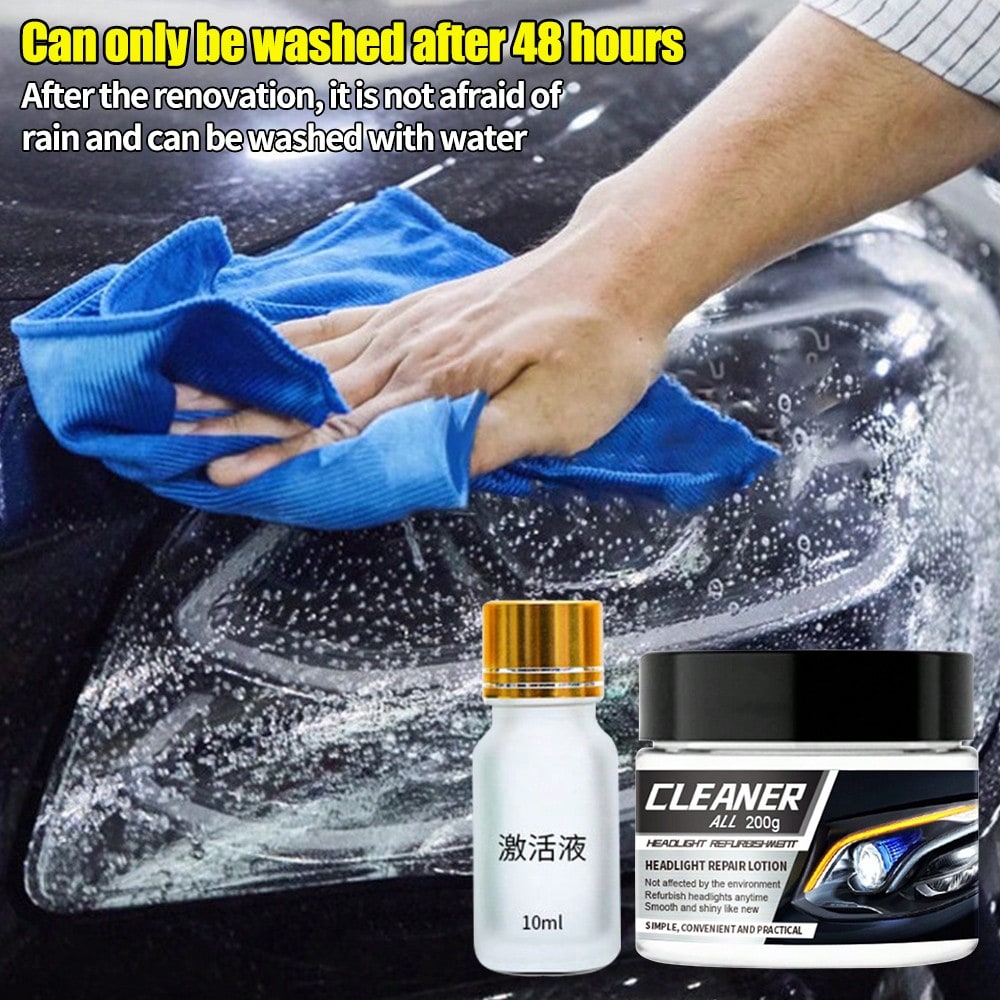
- Headlight restoration kit with polish and sealant for best results
- Sandpaper: 800, 1200, 2000 grit for heavy oxidation
- Plastic polish or rubbing compound
- UV protectant or clear coat for sealing
I use a kit most times. Kits save time and include a UV sealant. If you try household fixes, always finish with a UV protectant. This prevents fast re-yellowing.

Step-by-step methods to restore clarity
Here are clear methods for how to clean car headlights that are cloudy and yellow. Start with the least aggressive option. Move to sanding only if the lens is deeply yellow and scratched.
Method 1 — Quick DIY with toothpaste
- Clean lens with soap and water. Dry it.
- Mask paint and trim with tape.
- Apply a pea-sized amount of non-gel toothpaste to a damp microfiber cloth.
- Rub in circular motions for 2–3 minutes per area.
- Rinse and dry. Apply UV protectant.
Toothpaste is a mild abrasive. It removes light haze. It won’t fix deep oxidation. I used toothpaste once on an older car and saw a big short-term improvement. Results lasted months when I sealed the lens.
Method 2 — Baking soda and water paste
- Mix baking soda and water to make a paste.
- Follow the same steps as with toothpaste.
- Rinse and dry. Seal with UV protectant.
This is cheap and eco-friendly. It works like toothpaste on light haze.
Method 3 — Wet sanding and polishing (for heavy yellowing)
- Clean and tape off area.
- Start with 800 grit wet sandpaper. Keep the surface wet while sanding.
- Move to 1200 grit, then 2000 grit. Sand in straight lines, not circles.
- Wipe clean. Apply rubbing compound with a foam pad. Buff by hand or with a low-speed polisher.
- Finish with plastic polish to improve clarity.
- Apply a UV sealant or clear coat to protect the lens.
This method restores deep yellowing. It needs patience and care. I once did both sides of a truck with this method. It took about 90 minutes and the headlights looked nearly new afterward.
Method 4 — Use a headlight restoration kit
- Follow the kit instructions. Kits often include sandpaper, polish, and a UV seal.
- Kits are balanced for DIYers and give consistent results.
Kits save time and reduce errors. They are a good middle ground between toothpaste and full sanding.
Method 5 — Professional restoration or lens replacement
- If lenses are cracked or too thin, replace them.
- Professional services can wet sand, polish, and apply a long-lasting UV coat.
Sometimes replacement is cheaper in the long run. A pro can guarantee a durable UV seal and proper alignment.
People also ask
Will toothpaste permanently fix cloudy headlights?
Toothpaste helps minor haze but is not permanent. You must add a UV seal to slow re-yellowing.
Is wet sanding safe for headlight plastic?
Wet sanding is safe when done carefully with proper grit progression. Stop if you see extreme thinning or lens distortion.
How often should I seal headlights after cleaning?
Apply a UV seal every 6–12 months for best long-term clarity.

Preventing future yellowing
Prevention is cheaper than restoration. A small effort keeps lights clear.
Top prevention tips
- Park in shade or garage to reduce UV exposure.
- Apply a UV protectant or clear coat after cleaning.
- Wax headlights during wash sessions to add a temporary layer of protection.
- Replace bulbs with lower-heat LEDs if your vehicle allows it. Less heat helps the plastic age slower.
- Fix chips and cracks early to avoid rapid degradation.
I started waxing lenses after the first restoration. That simple habit added months to the clarity.

Troubleshooting, common mistakes, and safety
Avoid mistakes that make the problem worse.
Common errors
- Skipping the tape. Sanding or polish can damage paint.
- Using too much pressure. It can thin the lens.
- Stopping without a UV seal. Lenses yellow again fast.
- Using a high-speed polisher with no experience. It can overheat and distort plastic.
- Work in shade and a well-ventilated area.
- Wear gloves and eye protection when sanding or using chemical polish.
- Test any product on a small area first.
If you see clouding on the inside of the lens, the seal may be broken. Internal moisture needs professional attention.

When to replace headlights instead of restoring
Restoration works for oxidation and surface damage. Replace headlights when:
- Lenses are cracked or split.
- Internal moisture or fog is present.
- Lens is so thin that polishing causes deformation.
- Restoration fails repeatedly and light output remains low.
Replacement ensures long-term clarity. It also may be necessary to meet legal standards for visibility.
Frequently Asked Questions of How to clean car headlights that are cloudy and yellow
How long does a DIY headlight repair last?
A simple DIY repair can last a few months to a year. The duration depends on sun exposure and whether you apply a UV seal.
Can I use a drill with a polishing pad to clean headlights?
Yes, a low-speed drill or dual-action polisher can speed the job. Use light pressure and proper polishing pads to avoid heat damage.
Will baking soda damage headlight plastic?
No, baking soda is mild and safe for light haze. It is not strong enough for deep oxidation.
How quickly will headlights yellow again after cleaning?
Without UV protection, yellowing can return in a few months. Applying a UV sealant extends clarity for many months.
Is it illegal to drive with cloudy headlights?
Rules vary by location, but severely reduced light output can be unsafe and fails inspections. Clear lights help safe driving at night.
Conclusion
Restoring clarity is often quick, low-cost, and effective when you match the method to the damage. Start simple with toothpaste or a kit for light haze. Move to wet sanding and polish for deep oxidation. Always finish with a UV protectant to keep results longer. If lenses are cracked or fogged inside, replace them.
Take action today: inspect your headlights, pick the right method, and restore safe night driving. Share your results or questions below and consider subscribing for more hands-on car care tips.